Zero-Tolerance Wire EDM Machining Precision
Ultra-precision Plate Cutting
Mold production without jig grinding
process
(MM50UP: cutting example)
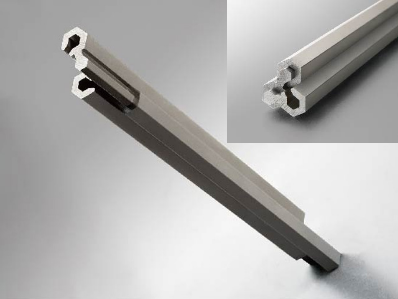
Inserting the pins into three plates separately cut
with different thickness
T20,22,25mm(T0.79,0.87,0.98inch)
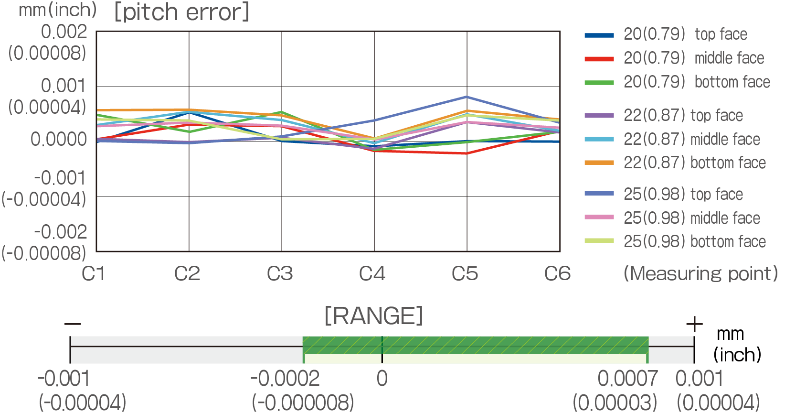
Plate cutting pitch accuracy

Thickness
: 20,22,25mm
(0.79,0.87,0.98inch)
Number of cuts
: 6 Passes
Wire diameter
: Φ0.2mm(0.008inch)

X axis pitch error
Error range
0.0014mm(0.000055inch)

Y axis pitch error
Error range
0.0010mm(0.000039inch)
Cutting Samples
mm(inch)

Combination cutting
Material: D2
Thickness: 60(2.36)
Cutting time: 50 hours
Wire diameter: Φ0.2(Φ0.008)
Surface finish : Ra 0.25µ(10µ)
Rz 2.00µ(12.3µ)

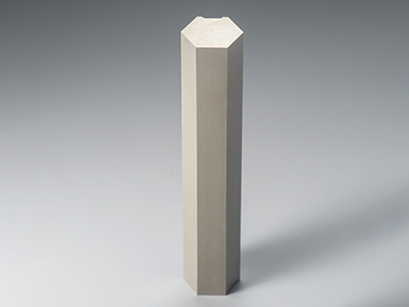
High-precision step combination cutting
Material: D2
Thickness:60,80(2.36,3.15)
Cutting time: 7.3hours
Wire diameter: Φ0.25(Φ0.010)
Surface finish : Ra 0.25µm(10µ)
Rz 2.00µm(12.3µ)
Dimension accuracy: ±2µ(±0.00008)

Best surface finish
Material: D2
Thickness: 30(1.18)
Cutting time: 3 hours
Wire diameter: Φ0.1(Φ0.004)
Surface finish : Ra 0.06µm(2.4µ)
Rz 0.50µ(3.08µ)

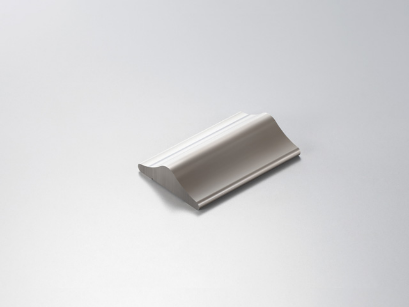
Tall thickness taper combination cut
Material: D2
Thickness:100(3.94)
Cutting time: 4 hours
Wire diameter: Φ0.25(Φ0.010)
Surface finish : Ra 0.30µ(12µ)
Rz 2.80µ(17.2µ)
Taper angle: 10°

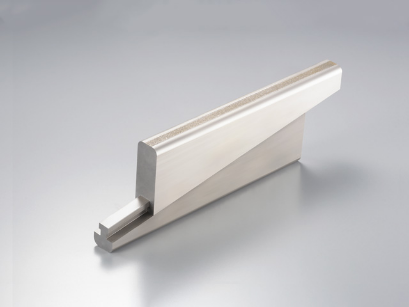
Large angle 45 taper cut
Material: D2
Thickness:40(1.58)
Cutting time: 5.0 hours
Wire diameter: Φ0.2(Φ0.008)Megacut-T
Surface finish : Ra 0.5µ(20µ)
Rz 4.50µ(27.7µ)

Best surface finish
Material: D2
Thickness: 30(1.18)
Cutting time: 4.3 hours
Wire diameter: Φ0.20(Φ0.008)
Surface finish : Ra 0.08µ(3.2µ)
Rz 0.65µ(4µ)
Dimension accuracy: ±2µ(±0.00008)

Full circumference cutting of
small-diameter gears
Material: WC(RG3)
Thickness: 3(0.118)
Cutting time: 1.5 hours
Wire diameter: Φ0.10(Φ0.004)
Surface finish : Ra 0.28µ(11.2µ)
Rz 2.28µ(14µ)
Dimension accuracy: ±2µ(±0.00008)

High-thickness fit cutting
Material: D2
Thickness:200(7.87)
Cutting time: 21 hours(Total)
Wire diameter: Φ0.25(Φ0.010)
Surface finish : Ra 0.55µ(22µ)
Rz 4.41µm(27.1µ)
Dimension accuracy: ±2µm(±0.00008)
Tall thickness cut
Material: D2
Thickness:120mm(4.72)
Cutting time: 3.5 hours
Wire diameter: Φ0.2(Φ0.008)
Surface finish : Ra 0.31µ(12.4µ)
Rz 2.50µ(15.4µ)
Dimension accuracy(inch)
|
Height |
surface1 |
surface2 |
| Top |
4.72
3.54 |
0.78740
0.78736 |
0.78736
0.78737 |
| Middle |
2.36
1.18 |
0.78740
0.78741 |
0.78739
0.78740 |
| Top |
0 |
0.78742 |
0.78741 |
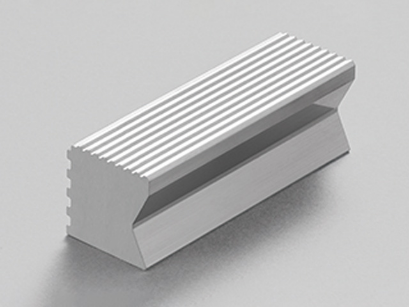
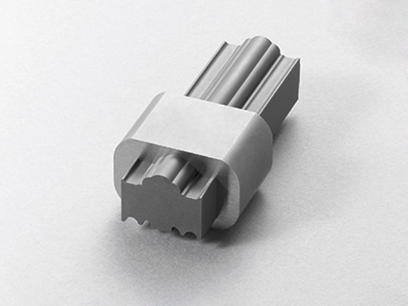
Serration cutting (die / punch)
Die
Material: D2
Thickness: 20(0.787)
Cutting time: 3.8h
Wire diameter: Φ0.10(Φ0.004)
Surface finish : Ra 0.15µ(6µ)
Rz 1.21µ(7.44µ)
Dimension accuracy: ±2µm(±0.00008)
Punch
Material: WC(RG3)
Thickness: 60(2.26)
Cutting time: 8.2 hours
Wire diameter: Φ0.10(Φ0.004), Φ0.25(Φ0.010)
Surface finish : Ra 0.12µ(4.72µ)
Rz 0.98µ(38.6µ)
Dimension accuracy: ±2µ(±0.00008)

Cutting Sample
Cutting by Water type machine
Leadframe cutting
Material: D2
Thickness: 3(0.12)
Cutting time: 1 hours
Wire diameter: Φ0.03(Φ0.0012)
Surface finish : Ra 0.10µ(3.94µ)
Rz 0.90µ(5.5µ)
Number of cuts: 5th
Shape accuracy
±1.0μm(0.00004)
Cutting by Oil type machine
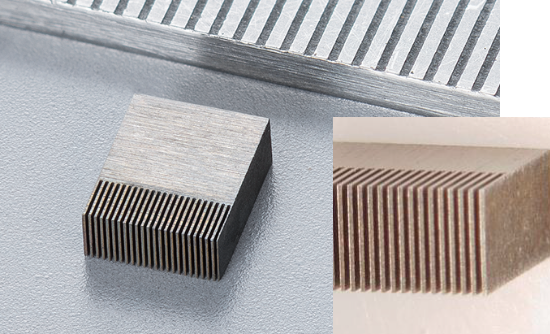
Comb cutting
Material: WC
Thickness: 1(0.04)
Cutting time: 4 hours
Wire diameter: Φ0.03(Φ0.0012)
Surface finish : Ra 0.10µ(3.94µ)
Rz 0.91µm(5.6µ)
Number of cuts: 5th
Shape accuracy
±2.0μ(0.000078)
Ultra-fine processing
Material: WC
Thickness: 1(0.04)
Cutting time: 4 hours 35minutes
Wire diameter: Φ0.03(Φ0.0012)
Surface finish : Ra 0.10µ(3.94µ)
Rz 0.90µ(5.5µ)
Number of cuts: 4th
Shape accuracy
±1.5μm(0.000059)
● The data listed in the sample is the result of our test conditions using tungsten
wire, and is different from the guaranteed accuracy.


